Learn how to get the most out of your footwear and enhance your walking experience.
Footwear Care Guide
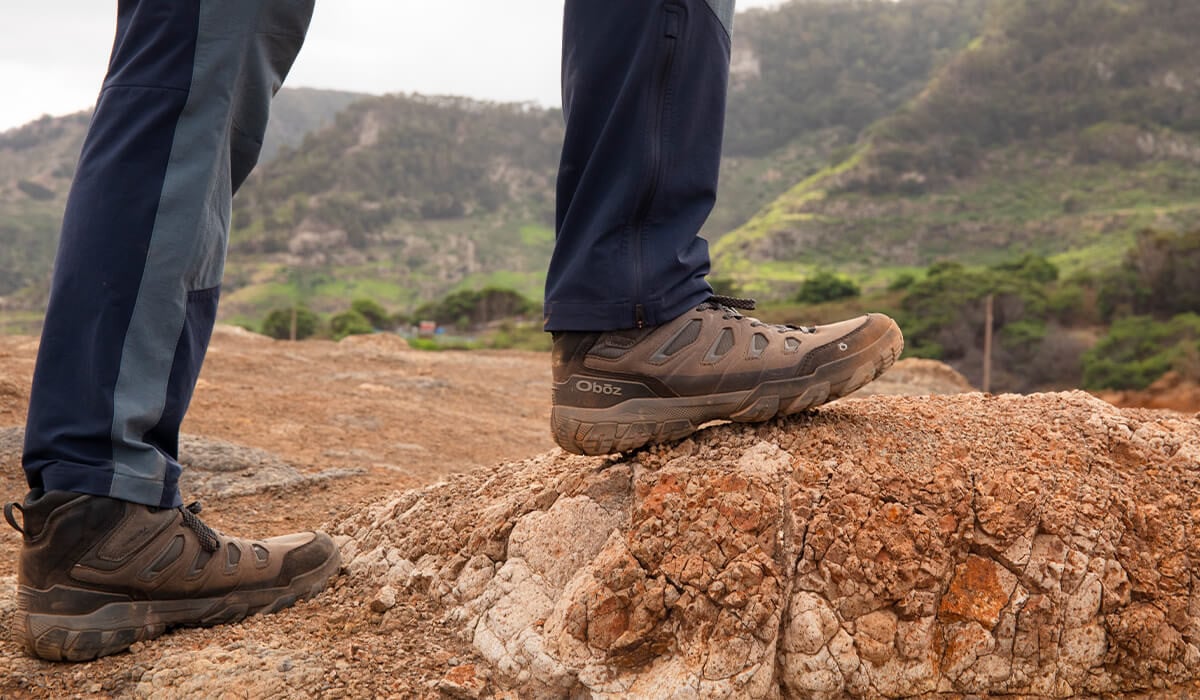
Walking boots and shoes are designed to take you further by offering support, protection, and improved grip on uneven and slippery terrain. Where normal shoes would falter, they thrive, and a good pair will last a very long time if you take the right steps to care for them properly.
So, let’s explore how you can keep your favourite footwear performing at its best!
Why do hiking shoes need to be cleaned?
Your hiking shoes are designed to protect you from mud, dust, rain, snow, and anything else you might encounter on the trail, so they’re bound to pick up some dirt and grime after a few uses. And while some might enjoy the well-used and worn look, an excessive accumulation of dirt isn’t ideal for the longevity of your shoes or the health of your feet.
Dirty shoes will quickly gather bacteria and fungus that could lead to infections and discomfort, and any mud that’s caked into the grooves of the sole will reduce grip and create a potential slip risk. Dirt on the upper material can also hinder the breathability and water repellency of your shoes. Getting into the habit of regularly cleaning your shoes will increase their lifespan, enhance your comfort, and help you get the most out of your footwear.
How do I clean my hiking shoes?
When cleaning your shoes, it’s important to use the correct cleaning products. Harsh detergents can damage your footwear and decrease performance, so we’d recommend using a shoe specific cleaning product like the Oboz Footwear Care Kit. Follow the steps below to safely clean and replenish your shoes.
- Use a stiff brush to help remove as much mud and dirt build-up as possible.
- Remove the laces and insole. The laces can be washed separately by hand, in the washing machine, or just left to one side if they aren’t too dirty.
- Rinse your shoes under warm water and use a soft brush to scrub away at the build-up of dirt. For a better clean, we’d suggest using the Oboz Footwear Cleaning Kit.
- Rinse your shoes again or use a soft damp cloth to remove any excess cleaning solution.
- Leave your shoes to dry naturally for a few hours, away from heat sources. You can place newspaper or dry cloths inside the shoes to soak up excess moisture.

What is a water-resistant shoe?
The majority of hiking boots and shoes will have a Durable Water Repellency finish that helps to repel water in the case of a splash or a light rain shower. If a shoe is waterproof, that means that there is a waterproof membrane built into the material, in combination with a DWR finish to help enhance the protection from water. Over time and with usual wear, the water repellent finish might require refreshing to keep it performing how it should. So if you notice more water absorbing into your shoes than normal, it might be time to re-proof!
How do you re-proof hiking shoes?
Whether your footwear is waterproof or water resistant, after some mileage there’s a chance that the DWR finish might need to be refreshed. Over time, dirt, grease, and abrasion will start to affect the shoes’ ability to repel water. But don’t worry, this is easily fixed!
It’s a good idea to re-proof your footwear after cleaning as this ensures that you have a dirt-free shoe to work with, and it can also make the material more receptive to the DWR treatment.
Take your chosen footwear proofer and completely cover the shoe. You can use a soft cloth to dab the product in. Remember to pay extra attention to areas with stitching and eyelets.
Wait a few minutes, and then wipe off any excess proof with a clean and dry cloth.
After cleaning and proofing, leave your shoes to dry naturally for a few hours, away from heat sources. You can place newspaper or dry cloths inside the shoes to soak up excess moisture.
Now that your footwear is clean and re-proofed, you’re ready to get back out on the trail and let adventure take you wherever your feet can carry you.

